How to Roll Back NVIDIA Drivers: A Simple Guide for Windows Users
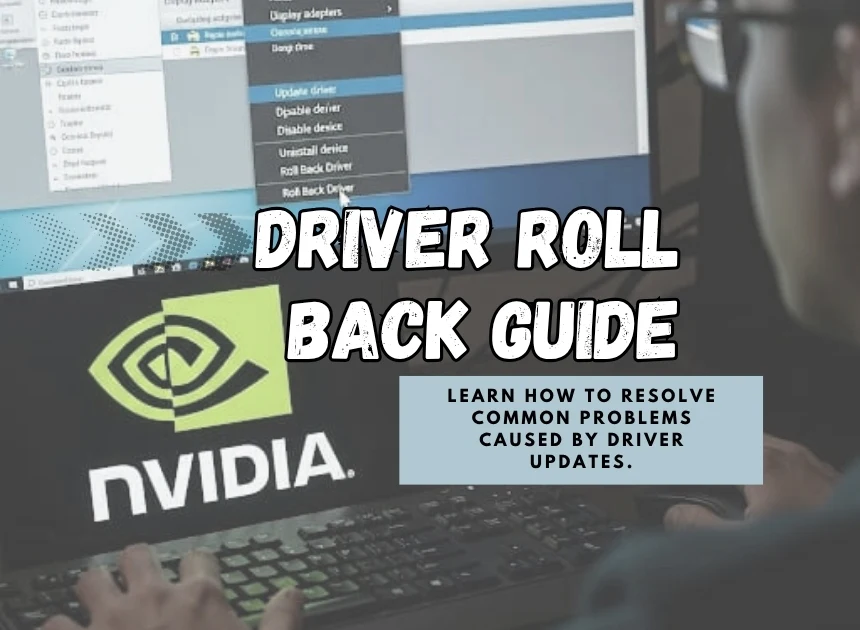
Facing game lags, screen flickers, or PC crashes after a driver update — no need to panic. Many users experience these issues after updating their graphics drivers. The good news? You can roll back NVIDIA drivers to a previous version that worked just fine. Whether you are using Windows 10 or 11, this blog will be beneficial for you to know everything.
Why Roll Back NVIDIA Drivers?
To fix bugs and improve performance, NVIDIA often updates drivers. But sometimes, the latest version occurs with some issues like:
- Poor game performance
- Display glitches or screen tearing
- Compatibility problems with older software
In such cases, rolling back your graphics driver can quickly restore stability.
What Does “Rolling Back” a Driver Mean?
You uninstall the latest version, and reverting to the previous version of that driver is what ‘Rolling Back’ means. It is useful when the new update causes unexpected issues, and you know the last version worked well.
How you Roll Back NVIDIA Drivers in Windows 10
Windows 10 user? Follow these steps:
1- Open Device Manager:
Open Device Manager by clicking on Windows + X on your keyboard.
2- Find your NVIDIA Graphics Card:
Now, search for Display adapters and then click on the arrow next to it. Right-click on the NVIDIA graphics and select Properties.
3- Go to the Driver Tab:
Click the Driver tab shown at the top.
4- Click “Roll Back Driver”:
If the Roll Back Driver option is not greyed out (it means it is clickable), click it. Choose any suitable reason, then click Yes.
5- Restart Your PC:
For changes to take place, restart your computer.
Note: You need to download and install the previous version on your own (manually) if the ‘Roll Back’ button is greyed out, as it means that the old version is not stored in your system.

How to Roll Back NVIDIA Drivers in Windows 11
The process is nearly the same as above:
- Open Device Manager by clicking on Windows + X on your keyboard.
- Click on the arrow next to Display adapters, right-click on the NVIDIA graphics card, then click on the Properties option.
- Go to the Driver tab and click Roll Back Driver.
- Choose any suitable reason and click Yes.
- After completing this process, restart your.
Windows 11 users may face occasional driver compatibility issues with new updates, so rolling back is a common fix.
How to install an Older NVIDIA Driver manually?
If you are not able to apply the Roll back option, then follow these steps:
Step 1: Uninstall Current Driver:
- Press the Windows key on the keyboard then search Control Panel and then open it, then go to Programs and Features
- Uninstall the NVIDIA Graphics Driver from the system.
- Restart your computer.
Step 2: Download the Driver’s version:
- Visit the official NVIDIA Driver Download Page.
- Select your Graphics Card Model then the operating system of your computer.
- Now, download and run the installer.
Step 3: To stop the automatic Driver updates:
To stop the automatic reinstalling of the problematic version:
- You have to type “gpedit.msc” after pressing the Windows + R button on the keyboard, then click Enter.
- Select Configuration > Administrative Templates > Windows Components, and then Windows Update.
- Find and enable the Do not include drivers with Windows Updates.
How to Roll Back Drivers on Any Windows PC
If you are not using an NVIDIA Graphics card therefore you can also follow the same steps to Roll Back the other drivers. For example:
- Audio devices
- Network adapters
- Printers
Open Device Manager by pressing Windows + X on your keyboard, find the device that is causing problems, go to its Driver tab, and click Roll Back Driver.
How to Roll Back Graphics Drivers (NVIDIA Specific)
NVIDIA has a dedicated GeForce Experience tool. However, it doesn’t support rolling back directly. If you use GeForce Experience:
- At first, uninstall the current driver using Device Manager or Control Panel
- From NVIDIA’s official site, you can download the previous version.
- Now you can install it manually.
This method is more useful when the new driver is causing problems in gaming or video rendering.
When Should You Avoid Rolling Back?
This is not always the best solution to Roll Back. You should avoid it if:
- If your issue is not because of the driver.
- If there were serious bugs in your older version and it also lacks important security fixes.
Try reinstalling or updating to a newer version first. If you are sure that the issues are occurring after the driver update, then only use the Roll Back.
Final Thoughts:
You can be saved from frustration at times when you know how to Roll Back. It can be helpful to restore the smooth functioning of your PC (Windows 10 or 11).
If the Roll Back option can’t be accessed, you can download it manually.
Your computing and gaming experience can be effective if you are informed and cautious about the driver updates.
This guide can be a real lifesaver for you and your device. Save This.
FAQ:
Ans- You need to follow these steps to revert back to an older NVIDIA driver:
By pressing Windows + X on keyboard open Device Manager.
Then, expand the Display Adapters, after that, Right click on NVIDIA Graphics Card and select Properties.
Go to the Driver tab and then click Roll Back Driver option, select a reason, then proceed.
Ans- Roll Back Driver refers to the process when you revert your new version driver to the older version driver.
Ans- You need to follow the following steps to Roll Back the driver manually:
Step 1: Uninstall Current Driver:
Press the Windows key on the keyboard, search Control Panel and then open it, then go to Programs and Features.
Uninstall the NVIDIA Graphics Driver from the system.
Restart your computer.
Step 2: Download the Driver’s version:
Visit the official NVIDIA Driver Download Page.
Select your Graphics Card Model and the operating system of your computer.
Now, download and run the installer.
Step 3: To stop the automatic Driver updates:
To stop the automatic reinstalling of the problematic version:
You have to type “gpedit.msc” after pressing the Windows + R button on the keyboard, then click Enter.
Select Configuration > Administrative Templates > Windows Components, and then Windows Update.
Find and enable the Do not include drivers with Windows Updates.
Some more interesting Recommendations from Editor’s side (Must Read):
Is Chatgpt down again? Here’s what to do.
Is Samsung Galaxy Z 6 Game changer is Foldable Tech.
Amazon’s Epic Plan to blanket the World in WiFi.


4 thoughts on “How to Roll Back NVIDIA Drivers: A Simple Guide for Windows Users”