Onn Mic Not Working on Your Mac Mini? Here’s the Real Fix.
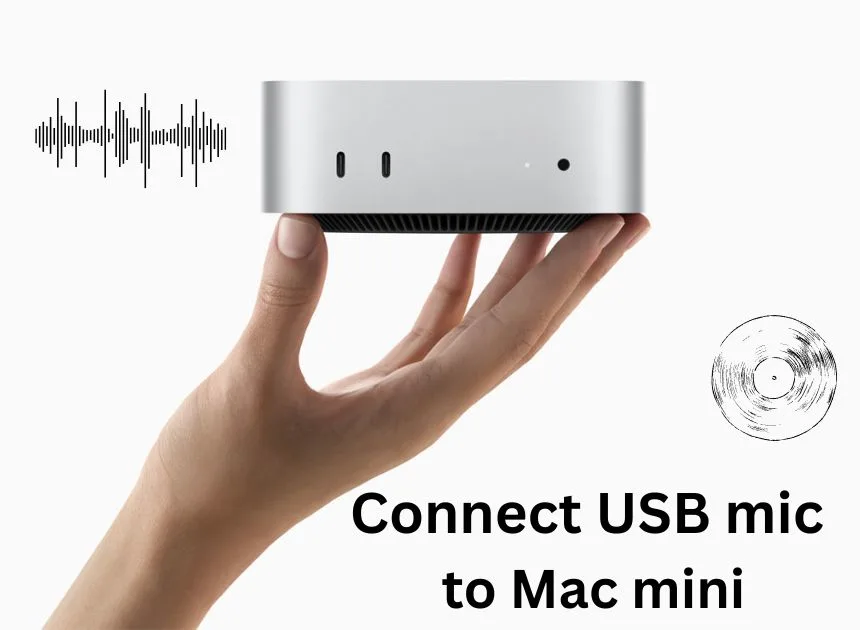
I get it. You’re sitting there with your brand new Mac Mini, and thinking about how to make an Onn mic work for a Mac Mini, you plug in your Onn mic, and you get… nothing. It’s the kind of issue that makes you want to pull your hair out. You’re probably thinking, “Did I buy the wrong thing or item? Or is it broken?”
Nope. You’re just running into a super common, super annoying Mac twist. I’ve been there myself, and I’m going to tell you exactly how to fix it, without any of the dense tech-speak.
The Real Reason your onn mic for mac mini is Not Working
Here’s the deal in simpler terms. Your Mac Mini’s headphone jack is a bit of a diva. It’s designed for iPhone-style earbuds, the kind that have the microphone and headphones all in one, on one single plug.
Your Onn mic for mac likely has a different kind of plug, one that’s meant for a standard microphone-only port.
So when you plug it in, your Mac Mini throws its hands up and says, “I don’t know what this is.” It fits into the hole, but the wiring inside doesn’t line up properly.
The Under-$10 Fix That Saves the Day
Spoiler alert: the solution is a tiny adapter. Don’t even bother with the steps below until you’ve tried this, because this solves the problem for 99% of people.
You need a USB to 3.5mm Audio Adapter.
That’s it. It’s a little dongle that costs less than a fancy coffee. You plug your Onn mic into the adapter, and you plug the adapter’s USB end into your Mac Mini.
Problem solved. It completely bypasses that picky headphone jack. Your Mac will see it, and it will just work. Trust me, I learned this the hard way. Just get the adapter.
Okay, I Have the Adapter. Now What?
Once you have your mic plugged in via a USB adapter, your Mac should see it. But you still have to tell your computer to listen to it.
- Go up to the little Apple icon in the top-left corner of your screen.
- Click on System Settings.
- Then, find and click on Sound.
- Look at the top of that window for the “Input” tab. Click it.
You should now see your mic listed there. It’ll probably say something like “USB Audio Device.” Just click on it to select it.
To test it, start talking. You should see the “Input level” bars light up. If they’re moving, then you have just cracked the deal with how to make onn mic work for a Mac mini.

One Last Thing: The “Bouncer” in Your System
Sometimes, your Mac knows the mic is there, but it won’t let your apps use it. This is a privacy thing, and it’s a common roadblock.
- Go back into System Settings.
- This time, click on Privacy & Security.
- Scroll down and find the Microphone.
- You’ll see a list of apps. Make sure the switch is turned ON for whatever app you’re trying to use (Zoom, GarageBand, etc.).
If you have to turn one on, you’ll need to quit and restart the app.
And that’s it. That’s the whole secret. It’s usually not a complicated software issue, but a simple hardware mismatch that a cheap adapter can fix in seconds. Now go make some noise.
Still Stuck? Your Questions Answered.
Q: Seriously, that’s it? I just need an adapter?
A: Yep. For a 3.5mm Onn mic, a USB adapter is almost always the fix. It’s the simplest way to get your Mac Mini to recognize it properly.
Q: How do I test if my mic is working for sure?
A: The easiest way is the built-in Voice Memos app. Open it up and try to record. If you can record your voice, you’re 100% good to go.
Q: Why does Apple make this so complicated?
A: It’s their way of keeping the machine’s design simple with fewer ports. The combo jack works great for their own products and headsets, but it leaves a lot of standard mics out in the cold without an adapter.
Q: My app still can’t hear me, but I checked the Privacy settings!
A: Double-check that you selected the mic inside the app itself. Apps like Zoom, Discord, and Teams often have their own audio input settings that can override your Mac’s system settings. Look for an audio or device menu within the app and make sure your USB device is selected.


