
How to use hanging indent in google docs
Hanging indent for document formatting is one of the great features in word processing and document writing. They are used in academic writing, research papers, and professional documents to differentiate between two paragraphs.
Let us see what we mean by these indentations and how to incorporate them more into your writing. Also, how to do the indent on Google Docs.
What are hanging indents
A hanging indent is a specific indent or extra space where the first line of a paragraph is, which is at the left margin of the document it starting with the second line. Further lines are indented according to our hanging indent. All of this extra space and indenting gives you a hanging effect on indents.
Uses of hanging indent in documents
The most common use of these indents is citing references in your articles. Also, they are used to give bibliographical reference in case of a report or any other formal document.
How to do Hanging indent on Google Docs?
Here is the step-by-step process for hanging an indent in Google Docs.
Step 1: Open your required document in Google Docs.
Step 2: Select the desired text or paragraph
Now we have two methods that we can use to create a Hanging indent.
Ruler method
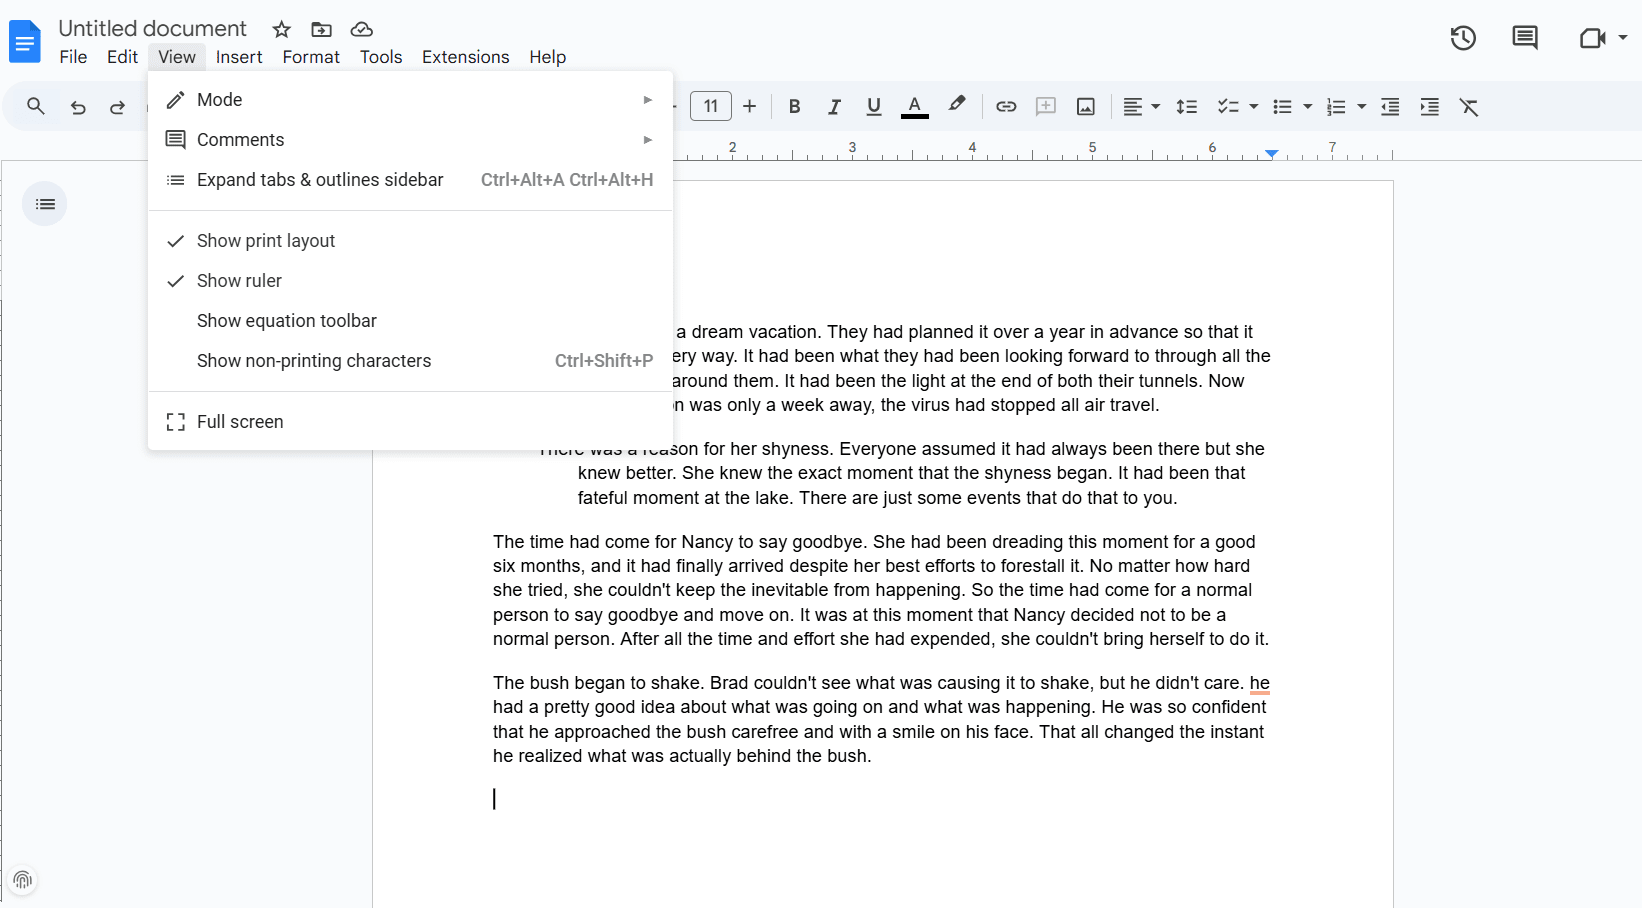
Step 3: Check if you have ruler enabled, if not. Go to the view options and make sure that you have the ruler enabled.
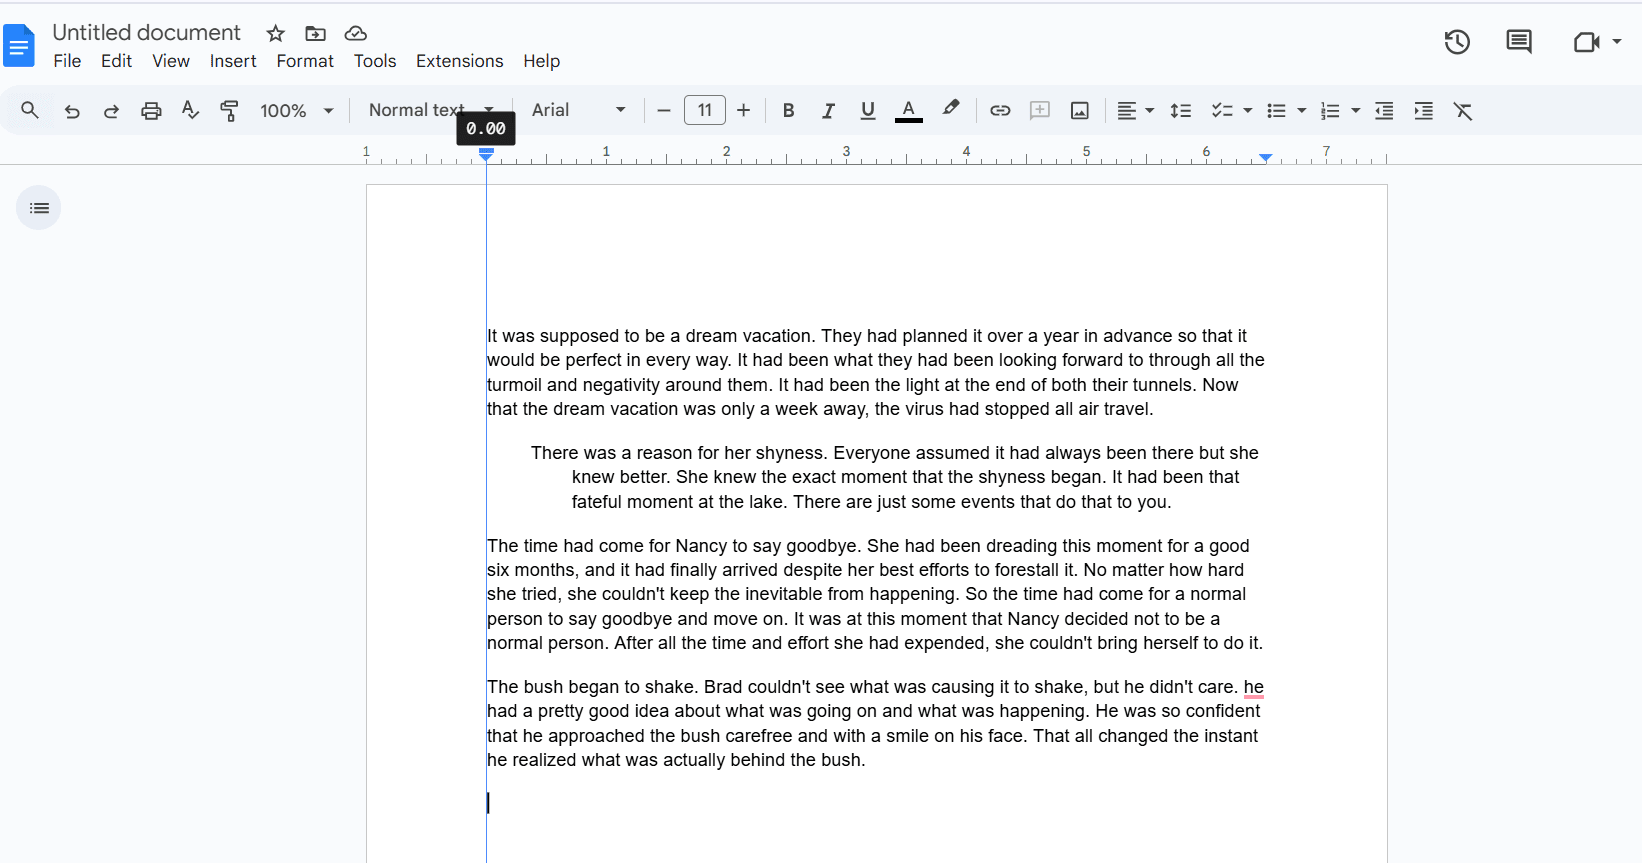
Step 4: Check for a triangle and a dash on top of it. The lower triangle is the one that creates the hanging indent. Move the lower facing triangle of the ruler, and in case you want to create first line indent use top dash.
Step 5: Adjust the width of both kinds of indents according to your document’s needs.
From Format Window
Step 3: Go to the format options from the main menu.
Step 4: Go to align and indent
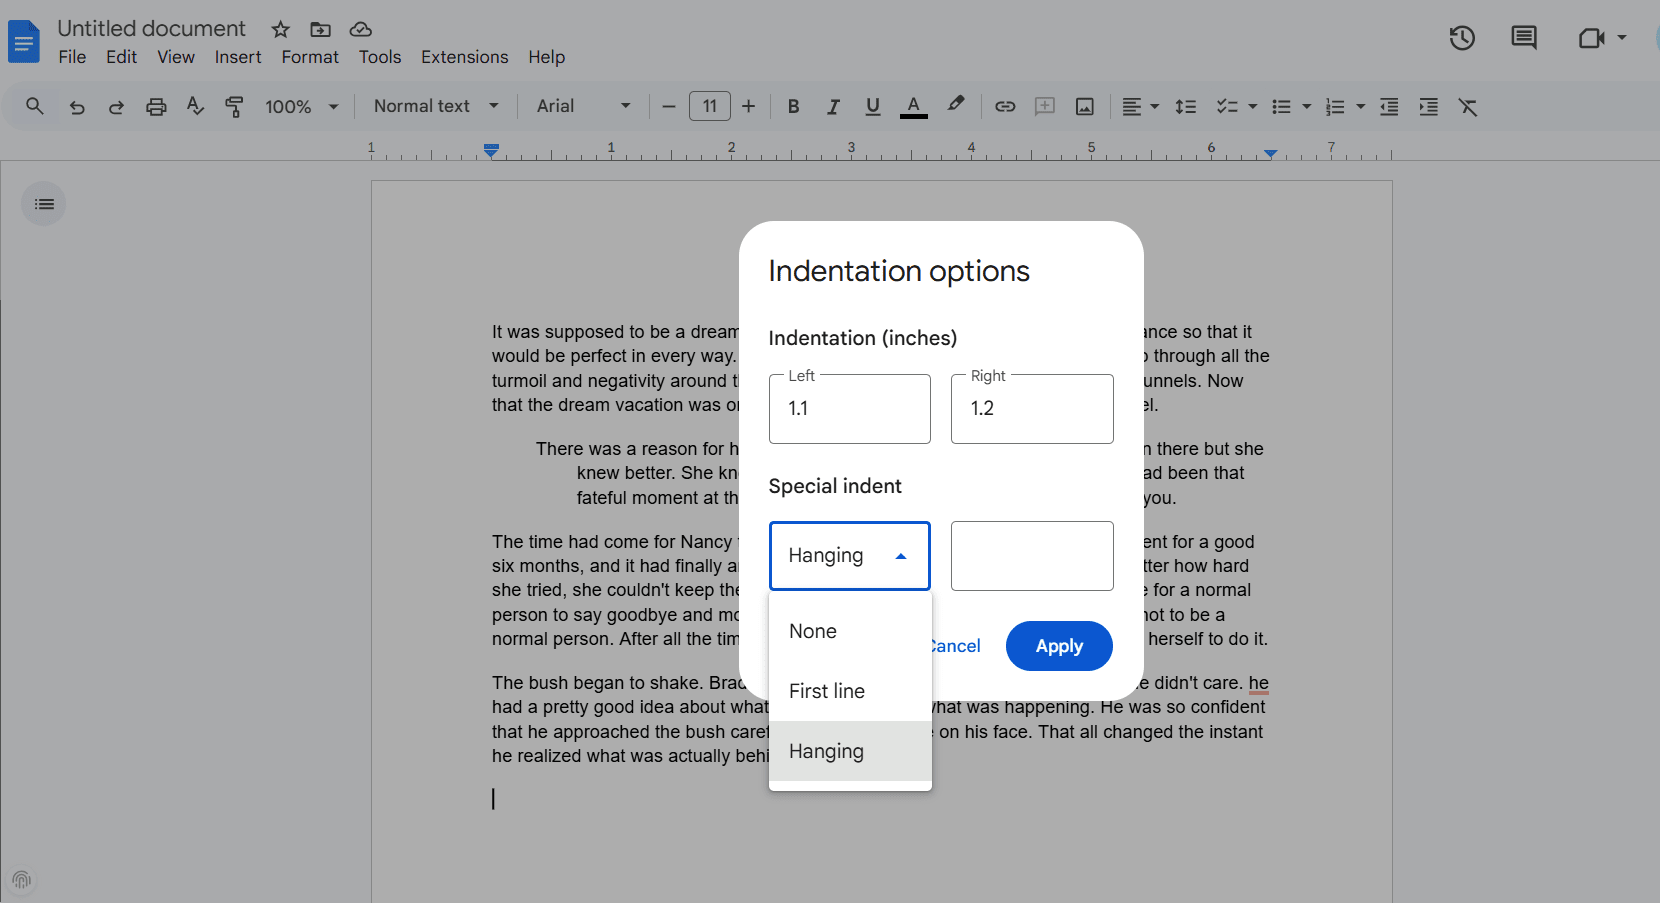
Step 5: Scroll to the end and click on the indentation options. Set the indentation to hanging and input inches for the indentation.
How to do Hanging indent on Word?
Hanging indent in Microsoft Word is pretty easy and similar to Docs.
Step 1: Open your document in Microsoft Word and select the paragraph or line.
Step 2: Go to the paragraph and click on the little arrow as shown in the figure.
Step 3: In the open paragraph window, go to indentation, then special change “none” to “hanging”
Step 4: Set your own width on both sides and get the indentation of your choice as shown in the figure.
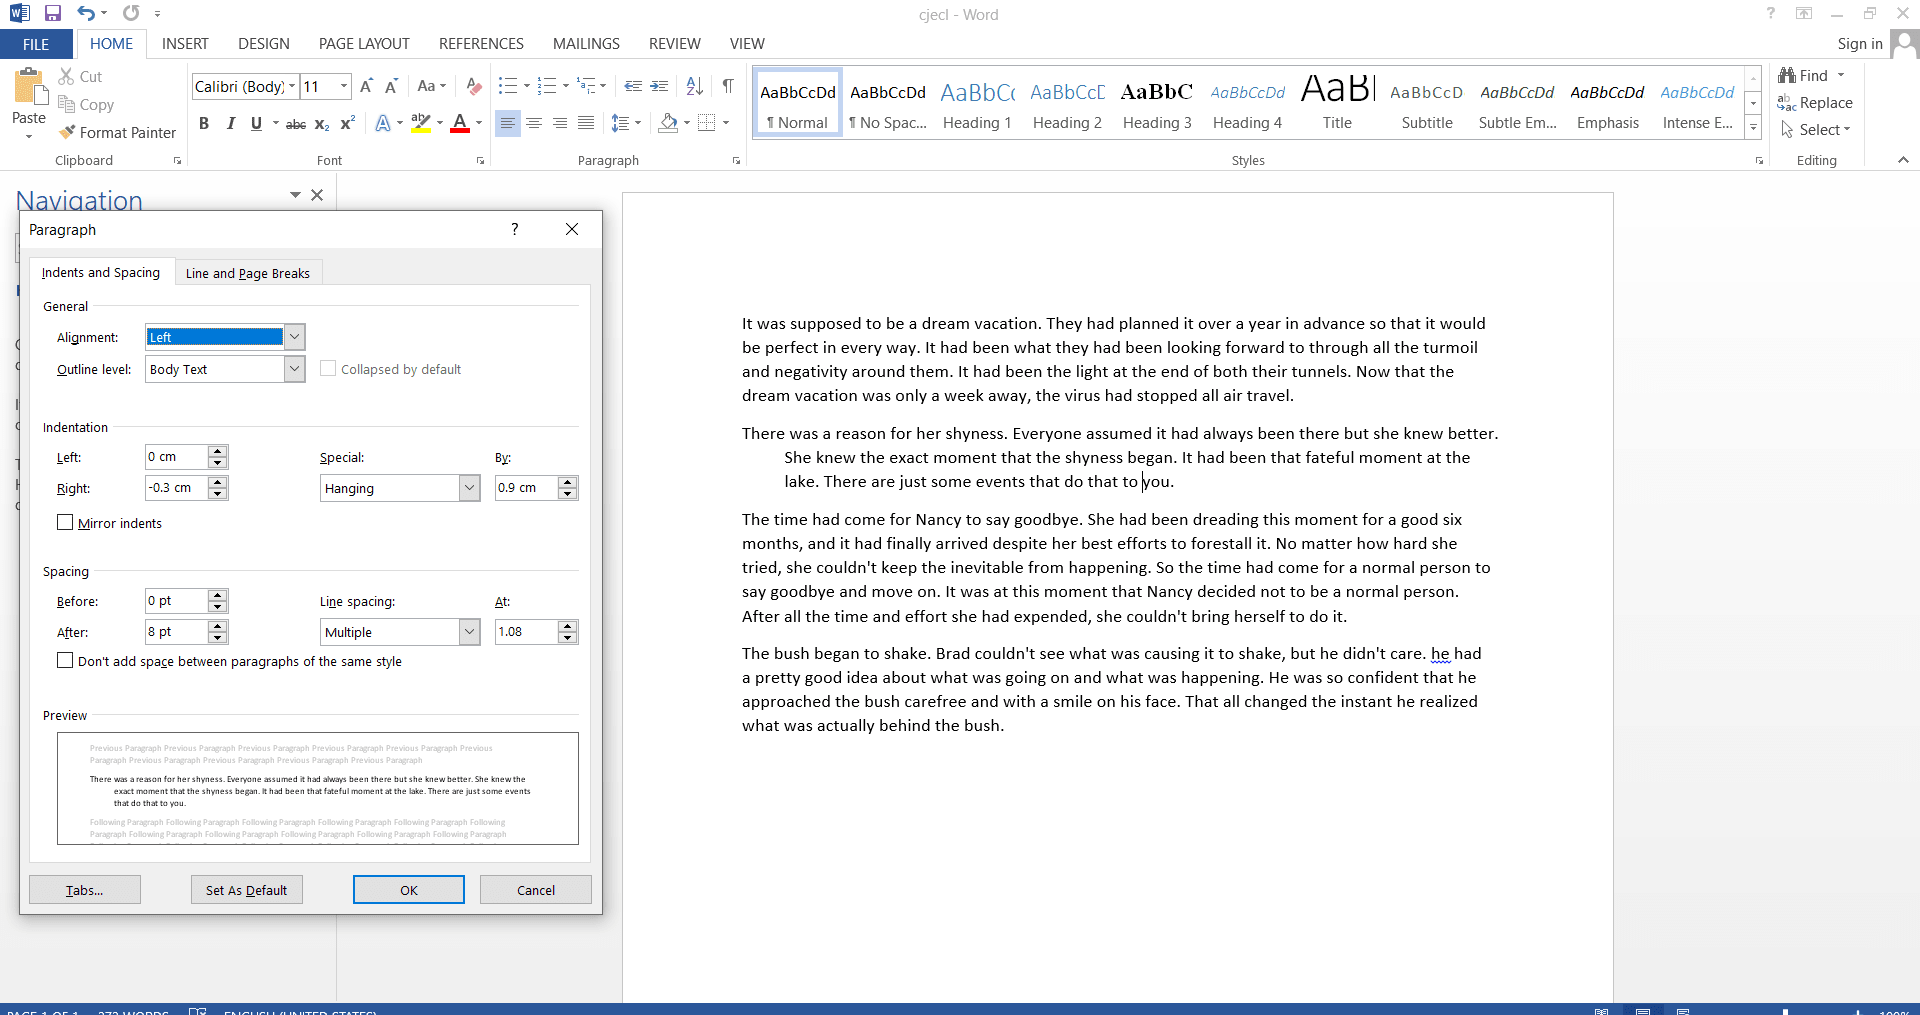
Click on OK, and your indents are done. If you want to remove the indent, just go to the same paragraph in step 3 and change it to “none”.
Hanging indents are a great way to improve the readability of the overall document. You can follow our guide to create great indents in your document. Which you can use to mark several references or other sources. It doesn’t matter whether you are a student, professional, author, or any other professional in the literary field. These indenting features will make your document look more polished and improve your overall writing skills.


One thought on “How to use hanging indent in google docs”